Growing plants from seed is a very satisfying process. Much like baking an apple pie entirely from scratch—crust and all—it takes more time, patience, and effort, but the sense of satisfaction is deeply rewarding. Starting plants from seed is a budget friendly way to garden and allows more variety in the plants that can be grown.
One of my favourite activities to do in the dead of winter is to scroll through The Digger’s Club seed catalogue online in front of the fireplace, finding old favourites to order and new heirloom varieties of fruits and vegetables to try out. Jaune Flamme tomatoes are a gorgeous orange tomato with the most vivid flavour I have tasted in a tomato and I would never have experienced them if I hadn’t grown them from seed.
Whether you’re a seasoned green thumb or just dipping your fingers into the soil for the first time, understanding the basics of starting plants from seed and storing seeds effectively can greatly improve your gardening experience. Here are five essential tips to help you start your plants from seed and store those seeds for use in future garden seasons.
1. Embrace the Variety
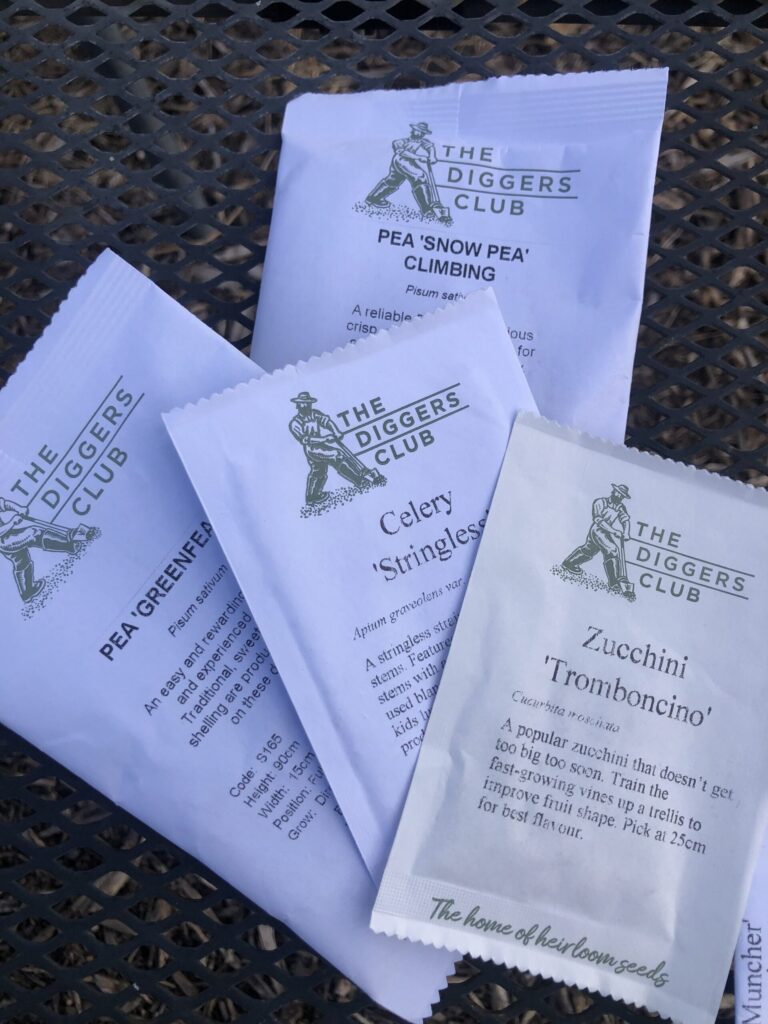
One of the most compelling reasons to start your own plants from seed is the sheer variety that becomes available to you. Walk into a local supermarket fruit and vegetable section and you’ll likely see the same handful of tomato or lettuce varieties. It stands to reason that supermarkets can only stock the fruits and vegetables that can sit on the shelf for a while or survive bouncing around in a truck from one state to another. But open a seed catalog or browse a reputable seed website, and suddenly you’re met with a dazzling array of choices: heirloom vegetables, rare flowers, unique herbs, and exotic plants from all over the world. The Digger’s Club is a wonderful source of heirloom seeds. Eden Seeds, a family owned Australian business, is another great place to get a broad variety of fruit and vegetable seeds. Our local farmer’s market in Mount Barker sells Eden seeds and I have found them to have an excellent germination rate and a range of varieties.
Want purple carrots, ‘Crystal Apple’ cucumbers (yes that’s a real variety), or black cherry tomatoes? They’re all out there waiting to be planted. By starting from seed, you’re no longer limited by what a store thinks will sell best—you get to grow what you love.
I am excited this spring to grow an heirloom pumpkin I grew three years ago – the bohemian pumpkin. This pumpkin is so beautiful that I gave it pride of place on my shelving in the living room before we ate them – with beautiful swirls of egg shell blue and orange on the skin these plants also produced several pumpkins per vine. Growing plants from seed allows me access to a huge variety of plant types, with something new to try every year.
2. Starting Seeds
Get a jump on the growing season by starting seeds either indoors or in a warm, sheltered spot. I start tomato seeds inside where it is warmer and the rest of my seeds do just fine getting started in my cold frame.
Before I built my cold frame I used to start my seeds in newspaper pots in a clear plastic storage style tub on the north side of the house. This provided enough warmth and shelter from the elements for my fragile little seeds to begin their life.
Here’s a quick guide to getting your fruit and vegetable seeds off to a strong start:
- Containers: You can use seed trays, old yogurt cups, plastic or paper picnic cups or newspaper pots. I like to use old hedge seedling trays that have ten pot compartments connected together. Just make sure they have drainage holes and poke some in the bottom with a skewer if needed. Many seeds can be planted straight into the garden bed – beetroot, carrots and radishes are some of the seeds that lend themselves to this treatment.
- Soil: Use a high-quality potting mix. I always ask for premium as this has the nutrients needed for young seedlings to thrive. I have used specific seed starting mix in the past but didn’t find my germination rate very different from using premium potting mix and I always have left over potting mix in the shed.
- Planting Depth: I plant seeds at twice their own depth. For example, I would plant a four millimetre snow pea seed at 8 mm deep, a carrot seed at two millimetres deep. We don’t want the seed to have to use up all its energy trying to get to the surface.
- Water: Keep the soil moist, but not waterlogged. I like to water the soil carefully before adding seeds. Using a spray bottle to water after planting can help avoid displacing the seeds.
- Light: Seedlings need plenty of light. The clear corrugated roofing sheets that I have over my cold frame allow plenty of light through. A clear plastic tub will give seeds plenty of access to sun, or a sunny windowsill may also be a great option if starting seeds inside. If I am starting seeds directly in the garden bed I may put an old milk bottle with the bottom and top cut off over the site where the seed is planted to provide protection from slugs and snails but also allow plenty of light and warmth from the sun.
Once your seedlings have grown a few centimetres, you can begin the process of hardening them off and transplanting them into the garden.
3. Seed Storage: From Boxes to Albums
After years of stuffing seed packets into muesli bar boxes with loose categories scribbled on the side and then into a large, messy box, I discovered a better way of organizing my seeds: a photo album. Each seed packet slips neatly into the individual pockets, making it easy to see, sort, and find what I need at a glance.
This method has multiple benefits:
- Visibility: No more rummaging through piles of packets.
- Organization: You can sort by season, type, or planting time.
- Protection: The plastic sleeves help keep moisture out.
I have also seen people store their seeds in a scrapbooking box with separate sealable sections. The man at the farmer’s market has his seeds sorted into wooden boxes with an open top and then into alphabetical order by type (cucumber, tomato, etc).
4. Sort Seeds by Season and Type
To make your seed-starting journey easier throughout the year, it’s helpful to sort your seeds into categories. Here’s a system that works well for me:
- Summer Seeds: Eg: Tomatoes, cucumbers, cucumbers, melons, beans.
- Winter Seeds: Eg: Broccoli, kale, and cabbage, as well as root vegetables like carrots and beets.
- All-Year-Round: Leafy greens like lettuce, spinach, and herbs such as parsley and coriander.
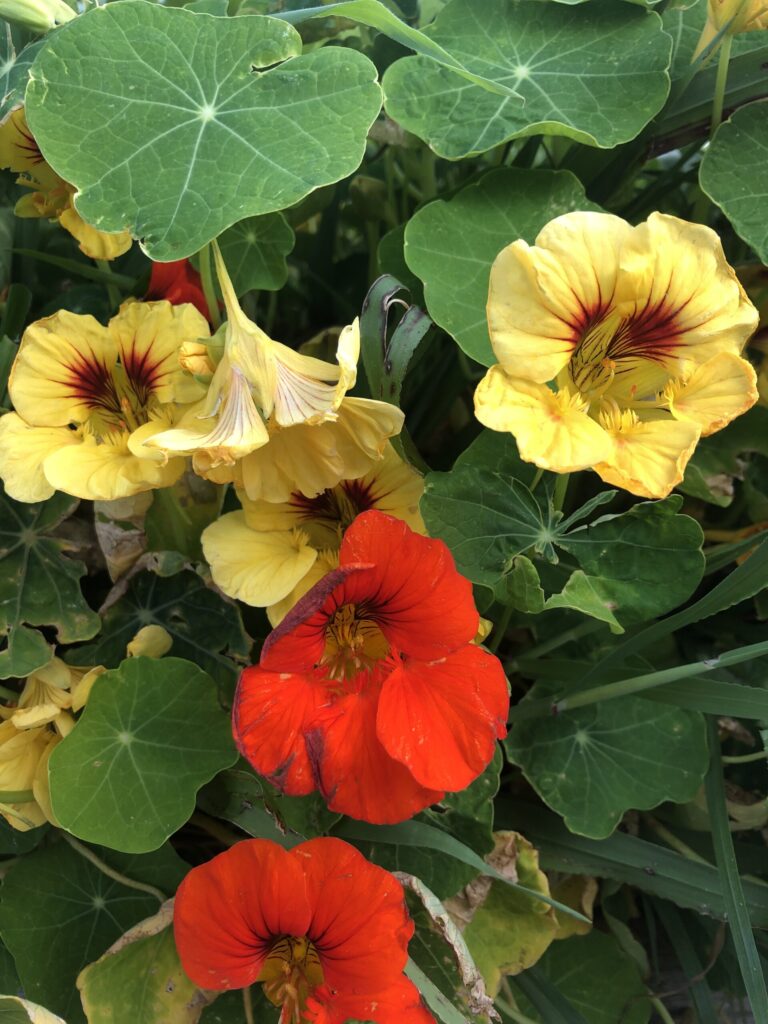
- Flowers: Poppies, violas, nasturtiums and sunflowers are some of the flowers that are happily planted from seed.
Sorting your seeds into broad categories will save time when you’re ready to plant and help prevent forgotten or expired seeds from accumulating in your stash.
5.Saving Seed From Our Own Garden
Saving our own seed is virtually free and is a great way to select the qualities that we want in a particular plant. To save the seeds for a fruit with the seeds on the inside such as pumpkin, cucumber or tomato, I choose the best fruit from the strongest vine. I carefully cut open the fruit and remove the largest, most virile looking seeds. I lay these on a doubled up piece of paper towel and put them on a bookshelf to dry. Once these are dry I peel them off and place them into an envelope with their name and date written on them. When we save seeds from our own plants they have started to adapt to our growing conditions, making them more suited to our specific climate. I found that a second generation of carrots grew far better than the first.
Starting plants from seed is a fun and creative process that connects a gardener more deeply to the plants and the food or flowers they produce. There’s an unmatched joy in watching tiny green shoots emerge from a seed you tucked into soil with your own hands. There are so many heirloom varieties of plants to choose from and always something new to add to the garden plan. Starting fruits and vegetables from seed saves a lot of money.
By taking the time to store your seeds properly, sort them thoughtfully, and start them with care, you’ll set yourself up for a more productive and satisfying growing season. Whether you’re dreaming of lush vegetables, colourful flowers, or fresh herbs for your kitchen, it all starts with a single seed—and a bit of planning.
So let’s dig out that seed stash, maybe pick up a photo album from the op shop to store those seeds in an easier way, and get out into the garden!
Where do you like to buy your seeds from? Tell us in the comments below—let’s grow together!