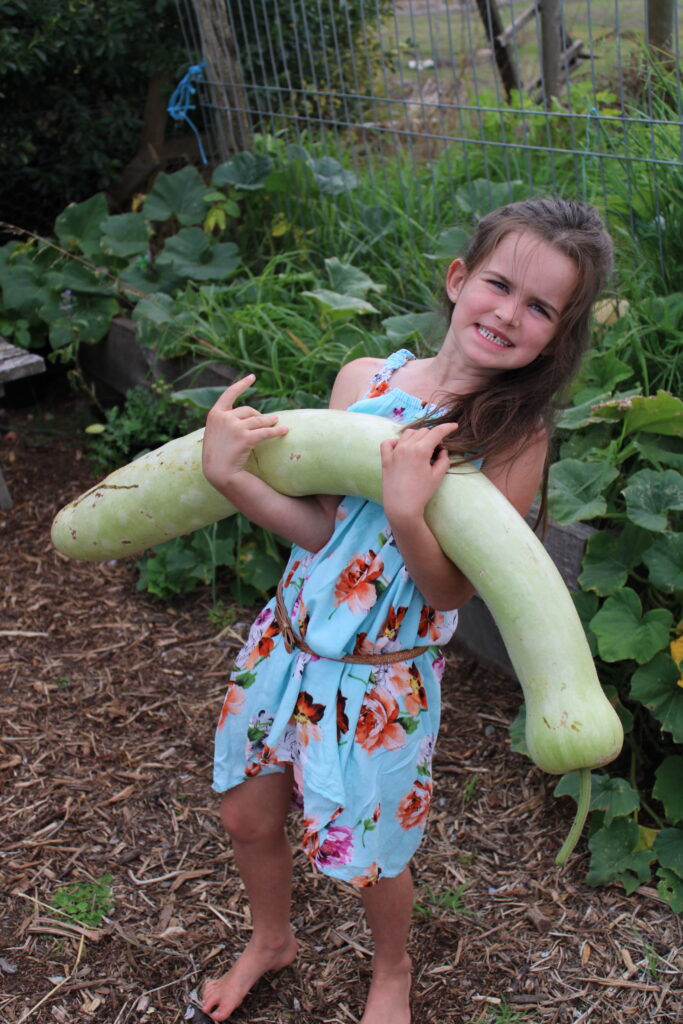
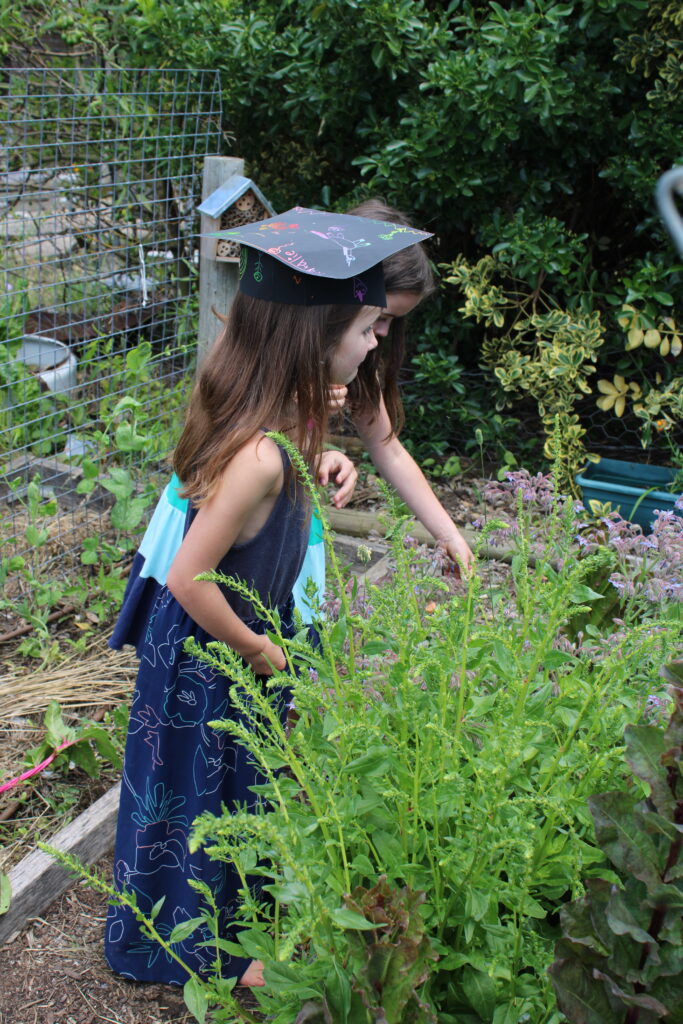
When I spend time in my vegetable garden my children want to get involved too. I love that they want to join in with me. They are learning so much about seasons, plants, their own health and self-reliance. Giving each of them a small, manageable garden area gives them more independence and allows them to experiment for themselves. My son was so excited the day he harvested half a dozen purple carrots and one of my daughters planted a rainbow chard that she added to her salads for over two years. My children also love feeding some of the plants that they grow to their pet budgie and rabbit. They love showing their garden to visitors and grandparents and take great pride in adding to the family meal.
Sometimes it’s hard to know where to start with helping children to grow their own garden. There are a few things we can do to help children stay interested and succeed with their gardening. Let’s explore a few of these.

- Find the right container / pot.
Container gardening is the best way to go when our children are gardening in their own space. A large pot, half wine barrel or small raised bed provides clear edges for a child. They can easily identify the area that they need to keep planted, watered and free of weeds. The plants are easier to reach. We found two large metal horse feed containers with holes in the base from the previous home owners in the corner of our shed that our children had great success with. Plenty of drainage holes are important. We also like to fill the soil up to 5 cm from the top of the pot and then leave some space at the top of the container. This means less soil gets spilled over the edges and fragile plants are less likely to be damaged by wind. If the child’s garden area is in-ground, use lengths of wood to clearly mark the area.
A half wine barrel with drainage holes drilled in the base is a great size to grow three or four different types of herbs and vegetables. A small garden obelisk (pyramid for plants to climb on) placed in the centre of the barrel would facilitate a cherry tomato plant in the centre, six lettuce plants and six chives plants with plenty of room for all the plants to grow big and strong.
- Start with easy to grow plants.
We get our children started with plants that are easy to grow in our area. We have found lettuce, snow peas, strawberry plants, chives, potatoes and rainbow chard to be some of the easiest for children to practice their gardening on. Lettuce can be harvested at any size and added to a salad. Chives can be snipped with a little pair of scissors and sprinkled over a variety of dishes. As children gain more experience they can experiment a little more widely with plant types, but starting with some tried and true favourites builds confidence.
- Use a mixture of seeds and seedlings.
We provide both seeds and seedlings for our children’s gardens. The seedlings give them a place to aim with the watering can and plants that they can see immediate progress with after gardening. The magic of seeds sprouting after a week or so of careful watering is a great lesson in plant life cycles too. Plant the seedlings first and then the seeds can be sown in the gaps. Seeds should be sown at a depth approximately twice the size of the seed (corn will be planted more deeply than lettuce due to seed size, for example).
I like to give our children some of the volunteer plants that start growing in the paths or too close to other plants. This saves on garden nursery fees. Lettuce, Asian mustard greens, calendula, parsley and strawberry runners are some of the volunteer plants that can usually be found in some rogue corner and ‘donated’ to the junior gardeners.
- Use premium potting mix
We purchase premium potting mix to top up the childrens’ garden soil. It has plenty of fertiliser and wetting agent already in it, giving the plants the best chance to grow vigorously. Cheap bagged potting mix will lack the nutrients needed to help plants grow and after a few weeks the plants will struggle. For only a few more dollars this soil will help plants grow big and strong. I usually buy this by the bag but if I am filling up a few garden beds at a time then I will pick up a larger amount at the rural supplies with a trailer.
- Garden placement
We placed our children’s garden containers right next to our vegetable patch. That means that they can weed, plant, prune and water when we are pottering about in the garden anyway. Another great place would be right by the back door so that children could check on their plants easily or grab a leaf or two to munch on. Container gardens should also be placed on the north side of the house where possible and receive at least 6 hours a day of sunlight. Away from curious pets and out of the path of bikes and scooters is a good idea.

- Easy water access
A small to medium sized watering can or a hose with a trigger spray nozzle will water small plants easily without damaging new roots and shoots. A hose with no attachment on the end is not suitable, it will blast the little plants out of the ground or damage new root systems.
Our property does not have access to mains water but relies solely on our rain water storage. This can be challenging when we don’t receive any rain for a few months over summer and autumn. We can’t afford to have taps accidentally left on by children or dripping after use. We have a 20 litre heavy duty bucket in the shade right next to the children’s garden that we keep topped up with water. We have a couple of small watering cans that the children plunge into larger bucket by hand to fill up and water their garden. It’s helpful that they can access the water independently. Another option is putting a timer on the garden tap so that the water is turned off after an allotted amount of time. Children can water the garden with a hose and spray nozzle but the timer will turn the water off automatically after a while if the child forgets or doesn’t have the strength to turn the tap off all the way.
- Freedom to experiment
Our children learn almost as much from their gardening mistakes as they do their successes. My daughter learned a great lesson in patience when she dug up the potato that she planted a few weeks before only to realise that it had not had the chance to grow any more potatoes yet. My son learned about the vital needs of a plant when he forgot to water his garden for a few weeks and his snow peas died. I try to allow our children to make their own decisions when it comes to their garden. I will make suggestions or observations but ultimately they make choices for their garden and observe the positive and negative consequences. The freedom to plant in and care for their own garden will help the lessons sink in for much longer. Our children also love to take cuttings from plants elsewhere in the garden and poke them into the soil and see what happens. Another favourite activity amongst our miniature gardeners is growing and then harvesting potatoes for salty hot chips.
- Make a garden label
Children love when things are labelled with their own name. A little sign with the child’s name on it would also be a fun addition to a little garden bed. There are so many options for garden labels – here are just a few.
- permanent texta on an icecream container lid
- Waterproof paint on a recycled wooden utensil
- Painted stone
- Wooden sign
- Wood burning pen on an old wooden spoon
- Calligraphy with a permanent marker on a second hand light coloured brick
A personalised sign is a great way to peak a child’s interest and give them ownership of their little garden.
- Watering Chart
During the summer it only takes a couple of days without water for seedlings to start to wilt or worse. A watering chart can help children to remember to water their garden consistently. A fun reward for regularly watering their garden and filling in their chart could be a new plant from the garden nursery or a book from the op shop. A reward chart should have a tick box or room for a sticker/stamp for each day of the week. If it rains on that day then watering is not needed, children could colour that square blue or draw a rain drop to show that it rained on that day.
Leave a Reply